Tuesday, 20 December 2011

Ribbon Flowers

These Flowers are just to easy to make. I have reels and reels of all kinds of ribbon.I invested in a couple of very well written books on ribbon work.These flowers are the first in a series I will be doing for Swirlydoos. So get your ribbon on, here we go...


~~~Ribbon Flower Supply List~~~
Ribbon 1 - 1.5 inch ribbon works best. Gross grain, satin, silk, polyester, organza.
(note: if you buy wired ribbon, you could pull out the wire with a pair of needle nose pliers. Cut you ribbon first, then remove the wires.)
Needle and thread. Heavy duty thread works best
scissors
buttons, brads, small flowers, pearls, seed beads.


***Step 1***

Cut (5) 3 - 3.5 inch lengths of ribbon. The wider ribbon looks best cut in 3.5 inch lengths and the narrower ribbon looks best cut in 3 inch lengths.


***Step 2***

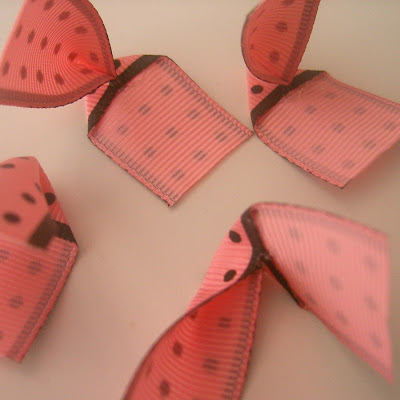
Find the middle point of your ribbon by folding the ribbon in half meeting the cut ends together. Crease the fold, open the ribbon and fold length wise as shown wrong sides together. With your needle and thread. Sew a few tiny whip stitches where you marked the crease to hold the fold together. Knot the thread and snip close to knot. Repeat until all 5 are done.


***Step 3***

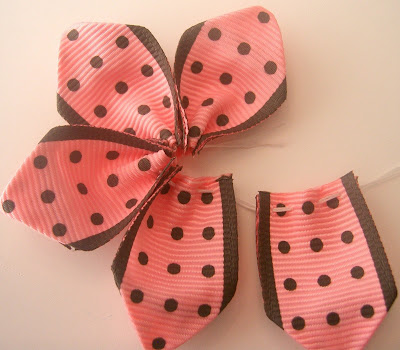
The fold is not shown, but take your ribbon piece and with wrong sides together, fold over in half until your cut ends meet evenly. You should see your petal shape as in the photo. Finger crease the top. With your needle and thread, sew a running stitch along the cut ends, stitch together all the way across as shown. Pulling the thread through.


***Step 4***

Repeat step 3 until all 5 petals are strung side by side on your knotted thread.


***Step5***

Carefully pull and gather your petals on the thread. When you are satisfied with the arrangement attach the first petal to the last petal and whip stitch them together and knot it.


You are now ready to attach any middle you want. You could even make tiny ribbon flowers and layer them for the middle. Here are some different flowers I created. Have fun with ribbon...And how beautiful would a layout be if you wove your ribbon across your page and end it with a ribbon flower. Now I am off to create that Layout!!


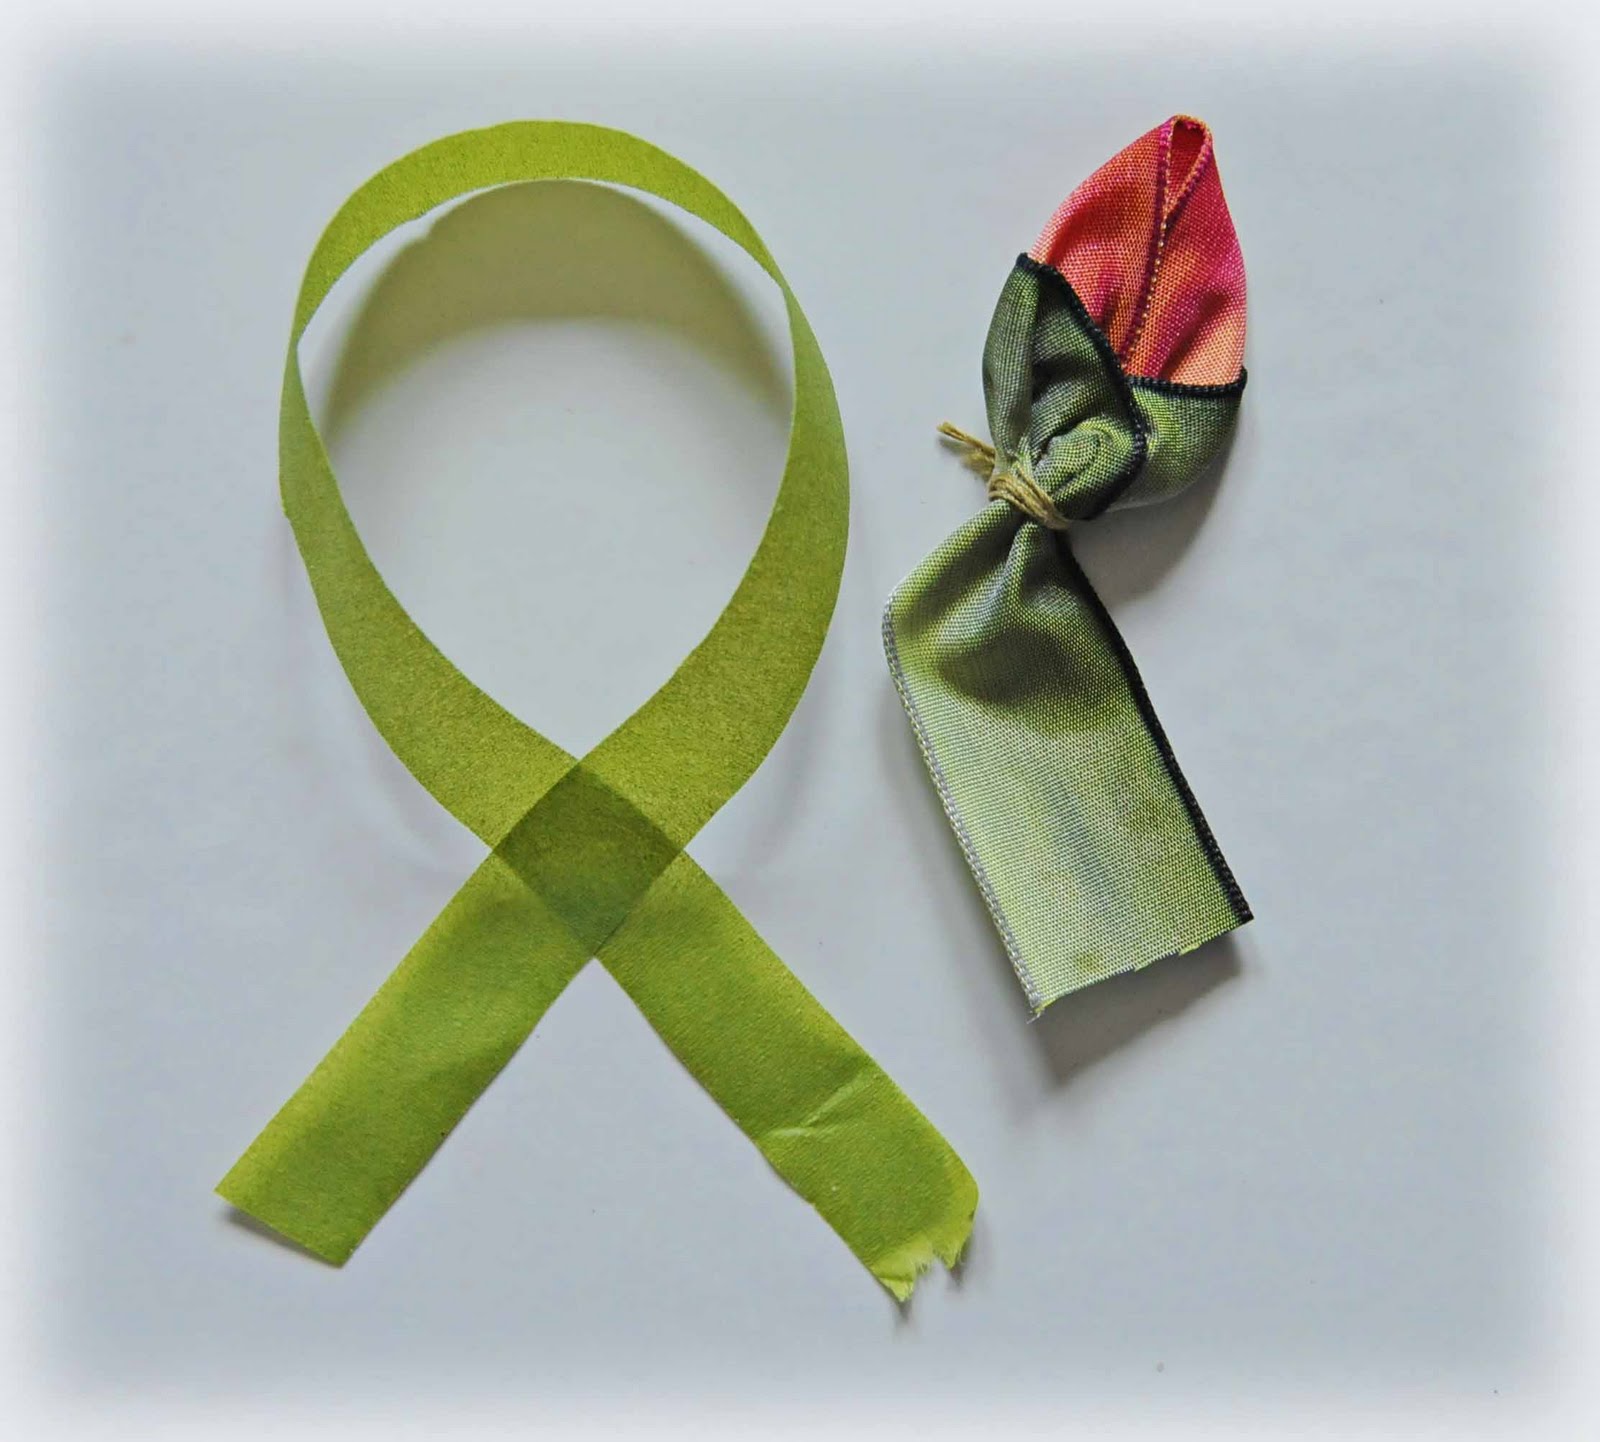
Ribbon Rosebud

Before we get started I have a couple of hints...
If you use wired ribbon, you could remove the ribbon as I did for this tutorial. Or you could remove the wire from just the bottom side of your bud.
Use a heavy duty thread that is not silky because with ribbon, it slips.
I use jewelry wire cutters and a 26 gauge craft wire.
Remember, the wider your ribbon, the more you need.
For tutorial purposes I used a 1 1/2 inch ribbon. So my measurements will be for that width.
All you need to know how to do is a running and whip stitch and knot..Easy...
Just relax and have fun...
**********************************************************************

~~~Tools and Supplies~~~
* scissors
* wire cutters (not Shown)
* craft wire (26 gauge is perfect)
* heavy thread (not a silky type)
* Tape measure or ruler
* sewing needle
* Floral tape (I love Martha Stewarts brand)
* Ribbon 1.5 - 2.5 in width works best. Variegated/Ombre and solids, wired or unwired.


Step 1
Cut the ribbon that you will be using for the bud part of your flower to 3 1/2 inches.


Step 2
Fold down the 2 edges of the ribbon to form a point (triangle shape). With your needle and thread sew a running stitch across the base catching the selvage in the back (both layers).


Step 3
Draw up your stitches tightly and knot.


Step 4
Cut a 5 1/2 inch length of your leave colored ribbon. Lay your bud about 2/3rds of the way on your ribbon as shown.You could do a tiny stay stitch to keep it in its place.


Step 5
Wrap the shorter piece of ribbon over the bud as shown. Notice I did a tiny stay stitch to keep the layer down.


Step 6
Now wrap (criss cross)the longer end over the shorter end as shown, The longer end will be your excess that will eventually become a part of your stem.I did another tiny stay stitch to keep it in it's place.You can leave the needle in this position.


Step 7
Sew another running stitch across the ribbon layers, making sure you catch the back as you sew. These layers will be a little bulky, thus the reason for the very strong thread.


Step 8
Draw up your stitches tightly to gather and then wrap the excess thread around the base a couple of times as shown. And knot off in the back. You should have a small tail of ribbon.


Step 9
Cut a length of floral tape. It is OK if you run out of tape before wrapping till the end. Just cut another piece and overlap your previous wrap, you will never tell the difference. It sticks really well as long as you stretch the tape as you go.


Step 10
Starting at the base of your floral bud, just covering the thread start wrapping the floral tape around tightly a couple of times to start. Remember with floral tape, you must stretch it as you go to get the tackiness and stretch needed to secure onto itself.


Step 11
Twist the ribbon as you wrap it with the floral tape to reduce the bulk of the stem. You could then attach some craft wire to extend the length of the stem and keep wrapping the wire until the whole length is covered with the floral tape. At this point your bud stem can be bent to the desired shape. At this point you could add leaves to the stem. I will be doing a tutorial on ribbon leaves in the future. But silk leaves would look beautiful with this bud.


I also create viney pieces by wrapping the floral tape around the wire, then wrapping the covered wire around a thin paint brush to make the curls. Stretch them out a bit and place in your arrangement. Here are some examples used on my last LO.

Friday, 16 December 2011

Kashmiri Chai (Pink Tea)


Ingredients
  1. Water – 2 cups
  2. Green Tea leaves – 2-3 teaspoons
  3. Salt and/or Sugar (according to your taste)
  4. Green cardamoms – 4
  5. Milk – 2 cups
  6. A pinch of Baking soda or Saffron (It will give pink color to the tea)
  7. Crushed dry fruits (Almonds and Pistachios preferably)
  8. Cream (optional)
Green Tea leaves
Green Tea leaves
Recipe
  1. Pour 2 cups water in a pot and make sure that the pot you are using has a broad base. Crush green cardamoms in your hand until seeds come out.
  2. Add both the seeds and shell in the water. Add green tea leaves.
  3. Also, add baking soda or Saffron. Using soda or saffron will give pink color to the tea.
  4. Let the mixture simmer and boil for about 20 minutes until the water is reduced to half.
    Top picture: "After adding ingredients" Bottom: Simmer 
and Boil
    Top picture: "After adding ingredients" Bottom: Simmer and Boil
  5. Now add two cups of normal water while it is boiling. Stir the mixture.
    Adding more water to the boiling mixture
    Adding more water to the boiling mixture
  6. After adding water, let it simmer for 5-10 minutes. On the side start boiling the milk (you can add more cardamoms in the milk, if you want)
    Keep stiring the mixture
    Keep stiring the mixture
  7. Add the tea mixture to the milk. Also, add sugar and salt or only salt or only sugar. Let it boil again. The more you boil, the stronger the tea will be.
    Add tea mixture to the boiling milk and watch it turn pink
    Add tea mixture to the boiling milk and watch it turn pink
  8. Finally, take it off the stove and pour it into cups. Add crushed dry fruits into cups and enjoy the tea
    Pink Tea without crushed dry fruit
    Pink Tea without crushed dry fruit
    With dry fruits
    With dry fruits
Traditionally, the tea is taken with salt rather than sugar. But it depends upon the taste of the individual. This tea is specially for people who live in cold climates. The tea and the dry fruits themselves provide warmth in a severe cold.

Friday, 9 December 2011

5 Petal Ribbon Flower

How to make a 5 Petal Ribbon Flower

Cut Five Lengths of 7/8" Ribbon, all the at 2 1/2 inches long. Heat seal the ends.

Tip: Cut the lengths with a woodburner, which cuts and seals the ends in one step.
Fold the ribbon in half and mark the center edges with a pencil.

There are two ways to make the petal point on flowers, sewing the center points or heat sealing the center points.
Heat Seal Center Points
Bring Center marks together, hold with a pin. Touch the centers with the pointed tip of a wood burner. The wood burner will melt the ribbons together very quickly. Set the wood burner down and hold together for just a second to make sure they seal together.


Place a little bit of hot glue inside the pocket on the back side of the petal. Hold the new melted center to the middle of the petal back. This will hold your angle perfect and enforce the melted center.

Repeat the process on all petals.


Sewing Center Points Place needle through the center edge marks.

Pull tight and tie a couple of square knots.

Attach the center to the back with hot glue or sew it. This keeps the corner or peak the same degree/angle.

Bring the edges together on a petal (make sure the glued edge is on the back so the front will puff up a bit).
Thread a needle with upholstery thread and tie the ends together with a knot.
Sew with a needle using similar stitches on all of the petals.

Continue to sew the remaining petals on the same thread.

Pull the petals to the end, so they stop at the knot.


Thread the needle through the start petals first couple of stiches.

Pull the thread really tight, making sure all the edges stay flat or touching.

Tie the end off on the back side of flower.
Optional: Leave the beginning tail long and tie thread lengths together in a knot when the flower is complete.


Sew a center to the flower. This flower has a piece of scrapbook punched felt under a pink button, sewn with the same upholstery thread as used to make the flower.

Examples of the different lengths of ribbon.